Introduction to Chain Waxing
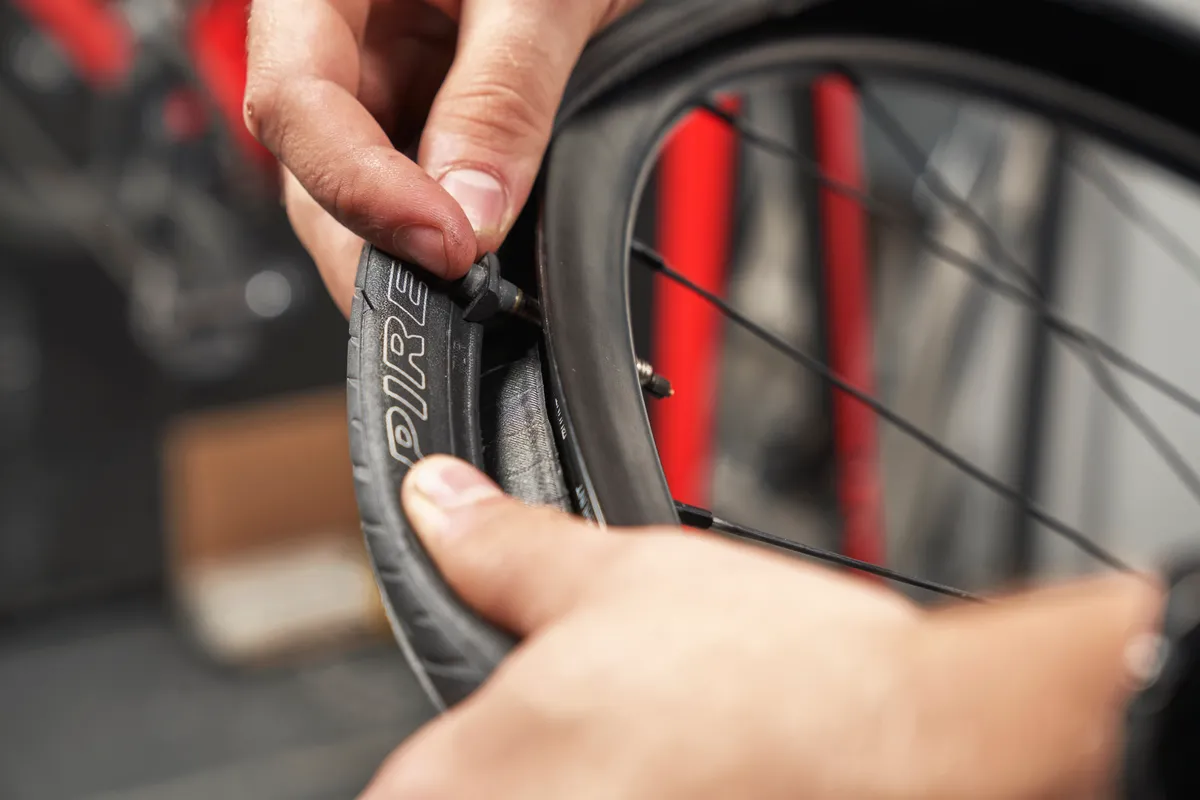
If you’re reading this, you’re probably already aware of the benefits of hot waxing your chain, so I won’t go through all of them here. However, it is worth discussing when and why you might not want to wax your chain.
Do not wax your chain if:
- You’re allergic to the fuss that comes with the process. It is a bit more work than simply cleaning your drivetrain and putting some oil on the chain. However, with some smart choices, it is less laborious than people think. See below.
- You are constantly riding in wet conditions. Water itself does not dissolve or degrade paraffin-based wax, but the sand, grit and dirt delivered by road spray can. In wet winter conditions, you may need to swap to a freshly waxed chain much more often. Some riders who ride a lot in the UK winter – chapeau to them – use oil-based wet lubes during the worst months and switch back to hot-waxed chains in the drier part of the year. It’s a completely valid strategy.
Runbook
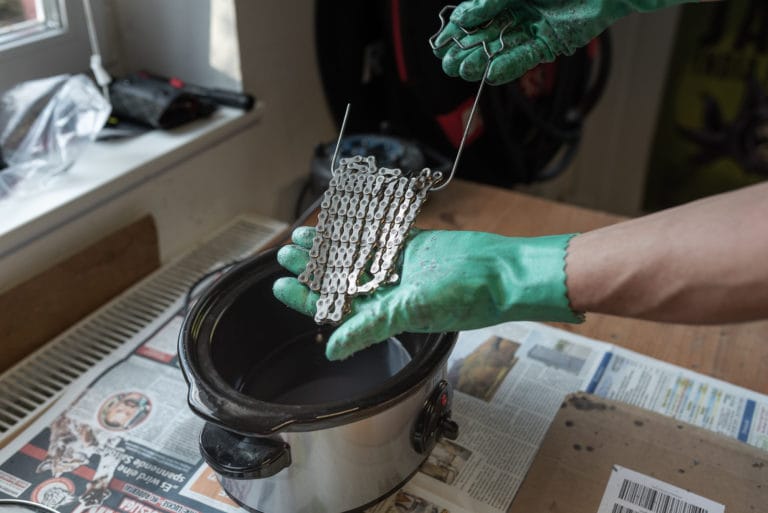
Before we start: I’m trying to keep this as product-agnostic as possible. Advertising a specific pot, kit or system is not the goal.
1. Get a new chain
For your first attempt, I recommend starting with a new chain.
In theory a used, previously oil-lubed chain can be converted to wax, but it is much harder to clean properly. If oil remains inside the rollers, the wax will not bond properly and the result will be poor.
So yes, it is technically possible to wax an old chain, but for your first go, make life easier and start with a new one.
2. Size the new chain
Remove the old chain from the bike. Clean it first if you want to make handling it less unpleasant.
Lay the old chain on a flat surface and straighten it out. Then lay the new chain next to it and cut the new chain to the same length.
The new chain should have the same number of links as the old chain if the old chain was correctly sized.
3. Remove the factory grease
This is the most important preparation step.
Brand-new chains usually come with factory grease or protective oil inside the rollers. That needs to be removed before hot waxing.
There are multiple ways to do this. Some people use mineral spirits, white spirit, dedicated chain strippers, or a full cleaning system from the same brand as their wax.
If you commit to a specific hot-waxing system, the simplest option is to use the degreaser or chain stripper recommended by that system.
The goal is to make the chain completely clean, inside and out. You do not want to replace one contaminant with another.
A good process is:
- Use a proper chain stripper or degreaser to remove the factory grease.
- Rinse if the product instructions require it.
- Use isopropyl alcohol as a final rinse if you want extra confidence.
- Dry the chain completely before waxing.
If the chain still feels slippery or oily, it is not ready for wax.
4. Do the hot waxing
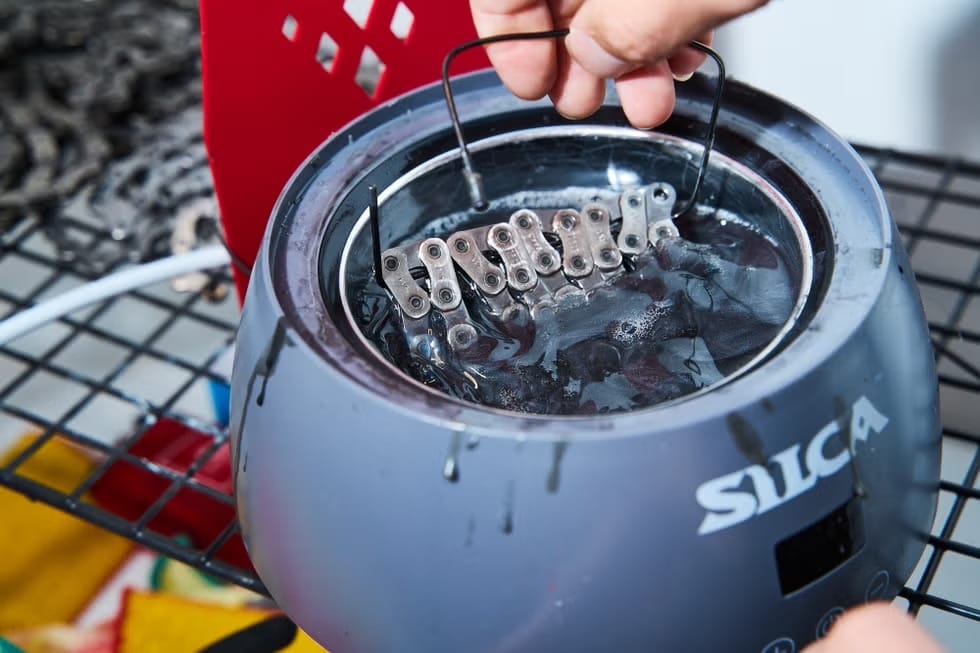
Again, multiple pots, systems and kits can be used.
What they all have in common:
- melt the wax
- submerge the chain
- agitate the chain
- leave it in the wax for the recommended time
- pull the chain out
- let it cool and dry
There are two important parameters to consider:
- how long the chain spends in the wax bath
- the temperature of the melted wax
If you use a specific wax and pot, the vendor should specify the ideal temperature and how long the chain should stay in the wax.
Do not assume every pot has a built-in thermometer. Some dedicated wax systems do, but many generic slow cookers do not. If your pot does not show temperature, use a thermometer or a temperature-controlled wax pot.
Having the wax too hot or too cool can cause problems, so it is worth reading the instructions on the bag or from the wax manufacturer.
One more thing: once the chain is submerged, move it around in the wax. You want the melted wax to fully penetrate the rollers and internal surfaces. Some kits do this automatically; otherwise, just agitate the chain manually.
5. Quick link
You do not need to hot wax the quick link separately.
Make sure it is clean and free from oil or grease. If you really want to, you can add a tiny amount of drip wax once the chain is installed, but it is not essential.
6. Let the chain cool and loosen it
Once the chain has been removed from the wax, let it cool and dry.
After cooling, the chain will be stiff. This is normal.
You need to loosen it before installing it. There are multiple ways to do this. The simplest is to go through the links by hand and break the stiffness link by link.
Some people also run the chain over a rounded edge or pipe to free it up more quickly.
7. Clean the rest of the drivetrain
If you have not done it yet, clean the rest of the bike – or at least the remaining drivetrain components.
Clean the:
- cassette
- chainrings
- derailleur pulleys
- derailleur cage
These parts need to be very clean before you put the waxed chain on.
If the cassette and chainrings are still covered in oily black paste, they will contaminate your newly waxed chain immediately. That defeats the point of the whole process.
8. Install the chain
Put the chain on the bike.
Check chain direction if your chain is directional. Also check quick-link direction if the quick link is directional.
The chain may feel stiff at first. That is normal.
You will usually need a short ride – maybe around 20–30 minutes – to fully break in the waxed chain and get it running smoothly with the drivetrain.
9. Enjoy the smoothness and cleanliness
This is the reward.
A properly waxed chain should feel smooth, quiet and clean. It should not leave black oily marks on your hands, legs, car, clothes or furniture.
Tip of the day
Wax multiple chains in one go.
This makes the whole process much more convenient. When one chain needs rewaxing, you can simply swap to another waxed chain and rewax the used one later.
Obviously, you do not want to go through the whole hot-waxing process right before a group ride or race.
What’s next?
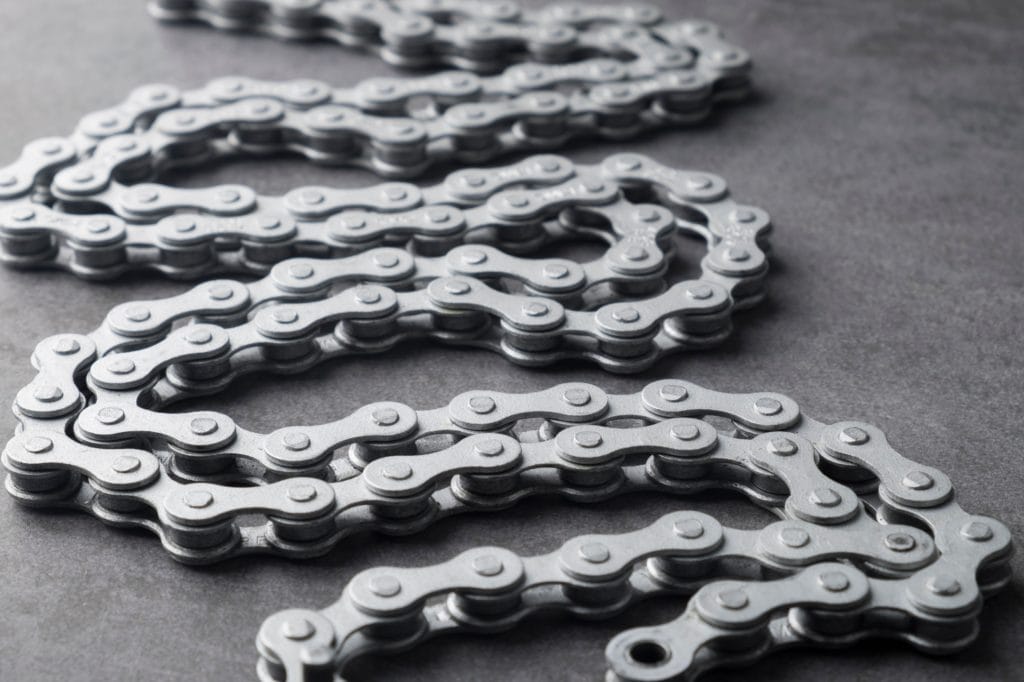
The performance of a waxed chain will degrade over time.
How quickly this happens depends on:
- weather
- road conditions
- how clean the drivetrain was before installation
- how powerful the rider is
- how often the bike is washed
- whether drip wax is used between hot waxes
The general tribal wisdom is that a hot-waxed chain might last around 300 km in dry conditions. In winter or wet conditions, it may last much less.
Do not wait for a loud metallic rattle if you can avoid it. A slight increase in drivetrain noise is normal as the wax wears, but a harsh metallic rattling sound usually means you have gone too far.
A better approach is:
- rewax after a sensible distance
- rewax sooner after wet or gritty rides
- rewax when the chain becomes noticeably louder or rougher
Using drip wax
You can use drip-on wax to extend the time between full hot waxes.
This can be useful if you do not want to remove and rewax the chain too frequently.
However, mileage claims vary a lot. Some riders report very long intervals with regular drip-wax top-ups, but this depends heavily on the product, the weather, the application method, and how clean the chain remains.
So I would not treat any big mileage number as guaranteed.
Drip wax is useful, but it is not exactly the same as a fresh hot wax. Eventually, you will still want to remove the chain and rewax it properly.
One last note about drip wax: it needs time to dry and solidify. Ideally, apply it well before your next ride. Overnight is good; 24 hours is even better, especially in cooler or damp conditions.
Rewaxing an already waxed chain
If the chain has only ever been waxed, you usually do not need to fully degrease it again.
For a normal rewax:
- Remove the chain.
- Wipe off loose dust and wax flakes.
- Optionally rinse it with boiling water to soften and flush off dirty outer wax.
- Dry the chain completely.
- Put it back into the hot wax bath.
Boiling water does not “degrease” the chain in the same way a solvent does. It simply softens and flushes away old outer wax and some surface contamination.
The most important part after a hot-water rinse is drying. Make sure the chain is completely dry before putting it back into the wax pot. Trapped water inside the rollers is not what you want in your wax bath.
If the chain has been contaminated with oil-based lubricant, then you need to strip it properly before waxing again.
Cleaning a waxed chain
One of the main benefits of a waxed chain is that it is already clean.
After most rides, you can simply wipe the chain with a dry microfibre cloth. That is usually enough.
When washing the bike, wash the chain and drivetrain the same way you wash the frame:
- water
- normal bike shampoo
- gentle rinsing
- drying afterwards
That’s it.
No need for strong chemicals, chain-cleaning machines, or aggressive degreasing.
Avoid using solvent degreasers on a waxed chain unless your goal is to remove the wax completely.
Shortcuts and cheat codes
If you do not want to do all the hassle described above, you can buy a pre-waxed chain.
A lot of vendors sell them.
You will still need to:
- cut the chain to the correct length
- install it correctly
- check chain direction if applicable
- check quick-link direction if applicable
But you can enjoy most of the benefits without doing the initial stripping and waxing yourself.
You can refresh the chain with drip wax regularly, and when needed, you can move to full immersion rewaxing later.
The important thing is not to contaminate the waxed chain with oil-based lubricant. Once oil gets into the chain, you are back to stripping and cleaning before it can be properly waxed again.
One last thing. You can leave the leftover melted wax to solidify in the pot. Once that’s done you can put the pot away until the next campaign.
This guide has been written and kindly contributed by London Dynamo member Otto Pecz, along with input and feedback from our club members. Thank you Otto.